Hey there! As a supplier of Automatic Awning Motors, I often get asked, "Can I install an automatic awning motor myself?" Well, let's dive right into this topic and find out.
Understanding Automatic Awning Motors
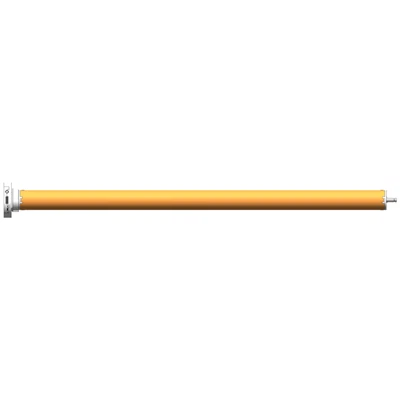
First things first, what exactly is an automatic awning motor? It's a device that allows you to open and close your awning with just a push of a button. No more manual cranking! These motors come in different types, like the 45mm Manual Radio Tubular Motor, the 45mm Manual Tubular Motor, and the 45mm Electronic Radio Tubular Motor. Each type has its own features and advantages.
The manual radio tubular motor gives you the option to operate it manually when needed, but also has a radio function for remote control. The manual tubular motor is more basic, just requiring a bit of elbow - grease if you want to use it manually. And the electronic radio tubular motor offers full - fledged electronic and radio - controlled operation, making it super convenient.
The DIY Installation Process
So, can you install it yourself? The short answer is, it depends. If you're handy with tools and have some basic knowledge of electrical work, you might be able to pull it off.
Tools You'll Need
Before you start, gather the necessary tools. You'll need a drill, screwdrivers (both flat - head and Phillips), a level, a measuring tape, and wire strippers if you're dealing with electrical connections. Having these tools at hand will make the installation process go much smoother.
Step 1: Measuring and Planning
The first step is to measure the awning. Make sure you know the exact dimensions so that the motor fits properly. Check the mounting points on the awning and the structure where you'll be attaching the motor. Use a level to ensure everything is straight. Planning is crucial here. You don't want to end up with a lopsided awning or a motor that doesn't fit correctly.
Step 2: Mounting the Motor
Once you've measured and planned, it's time to mount the motor. Follow the manufacturer's instructions carefully. Usually, you'll need to attach the motor to the awning's tube. Use the appropriate screws and make sure they're tightened securely. If you're not confident in your ability to do this, it might be a good idea to have someone help you.
Step 3: Electrical Connections
This is the part that scares a lot of DIYers. If you're installing an electronic or radio - controlled motor, you'll need to make electrical connections. First, turn off the power supply to avoid any electrical shocks. Then, use the wire strippers to expose the wires and connect them according to the wiring diagram provided by the manufacturer. If you're not sure about the wiring, it's better to call an electrician. A wrong connection can damage the motor or even cause a fire.
Step 4: Testing
After you've installed the motor and made the electrical connections, it's time to test it. Turn the power back on and use the remote control or the manual switch to open and close the awning. Check if the awning moves smoothly and if the motor is making any strange noises. If there are any issues, double - check your installation and the connections.
Potential Challenges
Even if you're a DIY pro, there are some challenges you might face during the installation.
Complex Wiring
As mentioned earlier, the wiring can be tricky. Different motors have different wiring requirements, and if you make a mistake, it can be a real headache to fix. Some motors might require a connection to a smart home system, which adds another layer of complexity.
Heavy Lifting
Awning motors can be heavy, especially the larger ones. Lifting and mounting them in the right position can be physically demanding. If you're not strong enough or don't have the right equipment, you might risk dropping the motor or injuring yourself.
Compatibility Issues
Not all motors are compatible with all awnings. You need to make sure that the motor you've chosen is the right fit for your awning's size, weight, and type. If there's a compatibility issue, the motor might not work properly or could even damage the awning.
When to Call a Professional
If you're not comfortable with any part of the installation process, it's best to call a professional. A professional installer has the experience and knowledge to handle any situation. They can ensure that the motor is installed correctly, the wiring is safe, and the awning operates smoothly.
Benefits of Professional Installation
While DIY installation can save you some money, professional installation has its own perks.
Expertise
Professionals know the ins and outs of awning motor installation. They've installed countless motors and can quickly identify and solve any problems that might arise.
Warranty
Many manufacturers require professional installation to keep the warranty valid. By having a professional install the motor, you can be sure that your warranty will be honored in case something goes wrong.
Safety
Electrical work can be dangerous. A professional installer is trained to handle electrical connections safely, reducing the risk of electrical shocks or fires.
Conclusion
So, can you install an automatic awning motor yourself? You can, but it's not without its challenges. If you have the skills, tools, and confidence, go ahead and give it a try. But if you're unsure about any part of the process, it's better to call a professional.
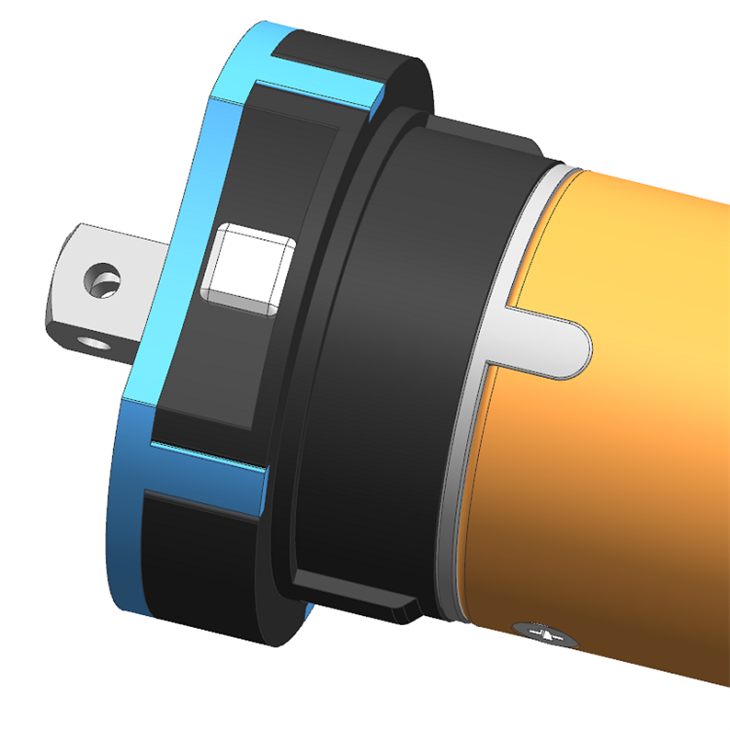

If you're interested in purchasing an automatic awning motor, we're here to help. We offer a wide range of high - quality motors, including the 45mm Manual Radio Tubular Motor, the 45mm Manual Tubular Motor, and the 45mm Electronic Radio Tubular Motor. Contact us for more information and to discuss your specific needs. We're looking forward to partnering with you for your awning motor requirements.
References
- Manufacturer's installation guides for automatic awning motors
- DIY home improvement books and online resources on awning motor installation