Hey there! As a supplier of Garage Door Tubular Motors, I often get asked about how to set the travel limits of these motors. It's a crucial step that ensures your garage door operates smoothly and safely. In this blog, I'll walk you through the process, sharing some tips and tricks along the way.
First off, let's understand why setting the travel limits is so important. Garage door tubular motors are designed to open and close your garage door automatically. But if the travel limits aren't set correctly, the door might not open or close fully, or it could even cause damage to the motor, the door, or other components. So, getting these limits right is key to a well - functioning garage door system.
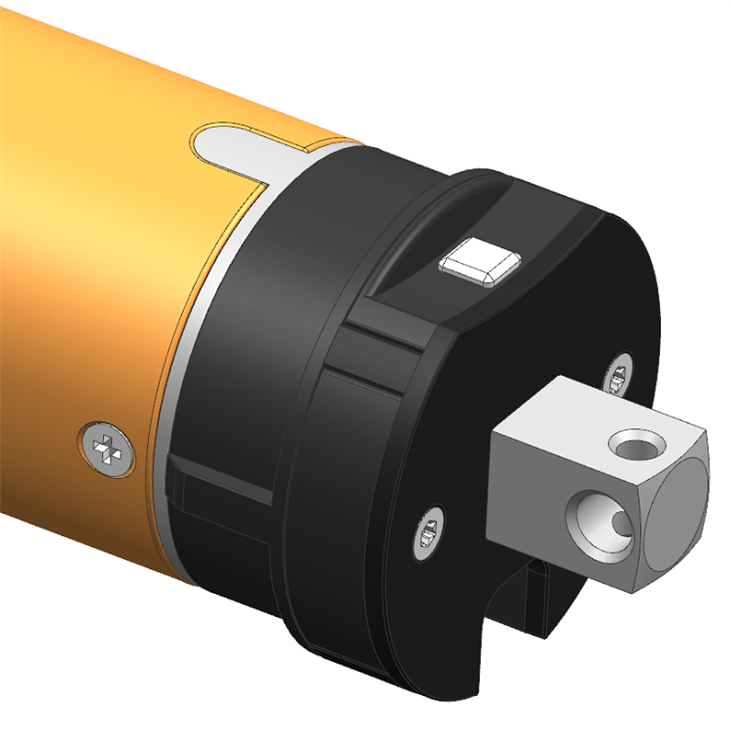
Types of Tubular Motors We Offer
Before we dive into the limit - setting process, let me briefly introduce some of the tubular motors we supply. We have the 59mm Standard Tubular Motor, which is a reliable workhorse. It's built to last and provides consistent performance for your garage door. Then there's the 59mm Electronic Radio Tubular Motor. This one comes with advanced features like remote control operation, making it super convenient. And finally, the 59mm Manual Radio Tubular Motor, which gives you the option of manual override in case of any issues.
Tools You'll Need
Now, let's talk about the tools you'll need to set the travel limits. You won't need a whole bunch of fancy stuff. Usually, a simple flat - head or Phillips - head screwdriver is all you'll need. Some motors might also have buttons on the control board that you can use to set the limits, in which case you won't even need a screwdriver.
Step - by - Step Guide to Setting Travel Limits
Step 1: Preparation
Before you start, make sure the power to the motor is turned off. This is a safety measure to prevent any accidental starts while you're working on the motor. You should also clear the area around the garage door to avoid any obstructions.
Step 2: Locating the Limit Adjustment Screws or Buttons
Most tubular motors have two sets of adjustment screws or buttons: one for the up limit and one for the down limit. These are usually located on the motor's control board. The up limit controls how far the door opens, and the down limit controls how far it closes.
Step 3: Setting the Down Limit
Start by setting the down limit. Turn the power back on and press the button to close the door. As the door starts to close, watch it carefully. When the door reaches the desired closed position, quickly turn the power off again. Now, if you're using adjustment screws, use your screwdriver to turn the down - limit screw clockwise to make the door close further or counter - clockwise to make it stop earlier. If you're using buttons, follow the instructions in the motor's manual to adjust the down limit.
Step 4: Testing the Down Limit
After making the adjustment, turn the power back on and test the door. Press the close button and see if the door closes to the correct position. If it doesn't, repeat step 3 until you get it right.

Step 5: Setting the Up Limit
Once the down limit is set, it's time to set the up limit. Press the button to open the door. When the door reaches the desired open position, turn the power off. Similar to setting the down limit, adjust the up - limit screw or use the buttons to fine - tune the position. If you turn the up - limit screw clockwise, the door will open further; if you turn it counter - clockwise, it will stop earlier.
Step 6: Testing the Up Limit
Turn the power back on and test the door's opening. Press the open button and check if the door opens to the correct position. If not, go back to step 5 and make further adjustments.
Tips and Tricks
- Take Your Time: Setting the travel limits can be a bit tricky, especially if it's your first time. Don't rush it. Take your time to get the limits just right.
- Make Small Adjustments: When you're turning the adjustment screws, make small adjustments at a time. Big changes can throw off the limits and make the door operate incorrectly.
- Refer to the Manual: Every motor is different, so it's always a good idea to refer to the motor's manual. It will have specific instructions for setting the travel limits.
Troubleshooting
If you're having trouble setting the travel limits, here are some common issues and solutions:
- The Door Doesn't Stop: If the door doesn't stop at the set limit, check if the adjustment screws are loose. Tighten them if necessary. Also, make sure there are no obstructions in the door's path.
- The Door Reverses Prematurely: This could be due to the force adjustment being too sensitive. You might need to adjust the force setting on the motor. Refer to the manual for instructions on how to do this.
Conclusion
Setting the travel limits of garage door tubular motors is an important task that ensures the smooth and safe operation of your garage door. By following the steps outlined in this blog and using the tips and tricks, you should be able to set the limits correctly.
If you're in the market for a high - quality tubular motor or need more information on setting travel limits, don't hesitate to reach out. We're here to help you with all your garage door motor needs. Whether you're a DIY enthusiast or a professional installer, we've got the right motor for you.
References
- Manufacturer's manuals for garage door tubular motors.
- Industry best practices for garage door motor installation and maintenance.


